Take your RV adventures to the next level by harnessing the power of the sun! Installing solar panels on your new or used RV not only saves you money but also allows you to enjoy off-grid camping with a reliable source of power. Learn more below with our RV tips for installing solar panels on your RV!
Planning Your Solar Setup
Before you begin the installation process, it’s essential to plan your solar setup. Start by assessing your energy needs. Calculate how much power you consume daily by listing all your electrical appliances and their wattage. This will help you determine the size and number of solar panels required.

Next, choose the type of solar panels that suit your RV. Monocrystalline panels are efficient and space-saving, while polycrystalline panels are more cost-effective. Don’t forget to consider the space on your RV roof to ensure the panels fit perfectly. And if you have any questions about calculating your energy needs and choosing the type of panel, give us a call! Our RV service department can answer any questions you have.
Gather Your Supplies
To install solar panels on your RV, you’ll need a few essential tools and materials:
- Solar panels
- Charge controller
- Inverter
- Deep cycle batteries
- Mounting brackets
- Wiring and connectors
- Drill and screws
- Adhesive sealant
Having everything ready before you start will make the installation process smoother and more efficient.
Installing the Solar Panels
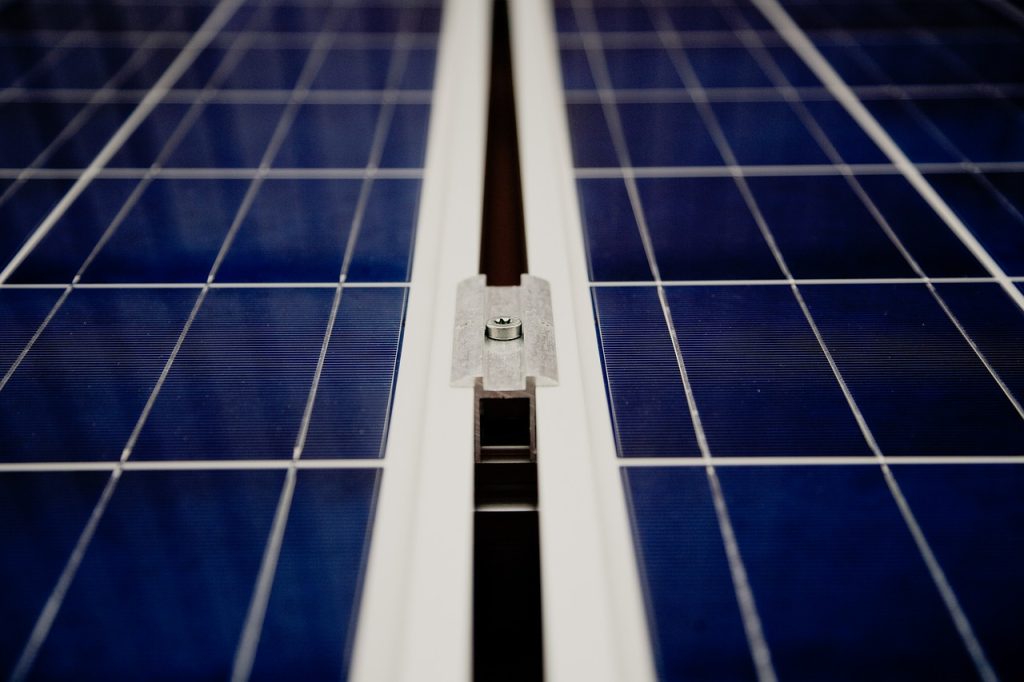
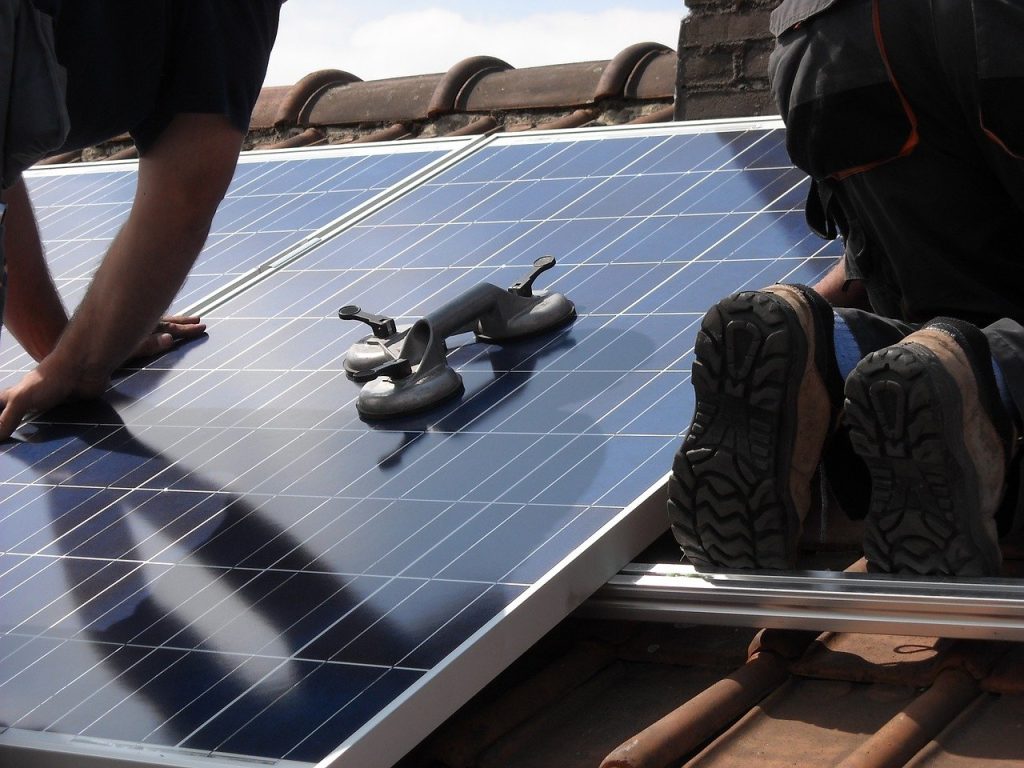
- Mount the Panels: Begin by mounting the solar panels on the roof of your RV. Use the mounting brackets and screws to secure them in place. Make sure they are positioned to receive maximum sunlight exposure throughout the day.
- Wiring the System: Connect the solar panels to the charge controller using the appropriate wiring. The charge controller regulates the power coming from the panels to prevent overcharging the batteries.
- Setting Up the Batteries: Place the deep cycle batteries in a well-ventilated compartment inside your RV. Connect the batteries to the charge controller. Ensure all connections are secure to avoid any power loss or hazards.
- Installing the Inverter: Connect the inverter to the batteries. The inverter converts the DC power stored in the batteries into AC power, which is used by most RV appliances.
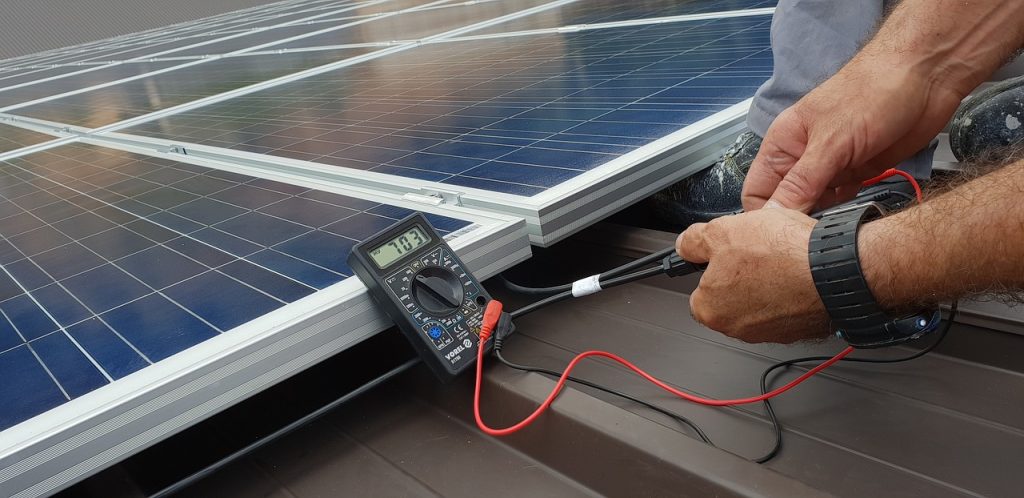
- Testing the System: Once everything is connected, test the system to ensure it’s working correctly. Check the charge controller display to see if the panels are generating power and charging the batteries. Run a few appliances to confirm that the inverter is functioning properly.

Enjoying Your Solar-Powered RV
With your solar panels installed, you’re ready to enjoy the benefits of renewable energy. Camp in remote locations without worrying about electrical hookups, reduce your carbon footprint, and save money in the long run!

Installing solar panels on your RV might seem daunting, but with proper planning and the right tools, it’s a manageable DIY project. Embrace the freedom of off-grid living and the joy of eco-friendly travel! For any questions or additional support, contact us to ensure your solar setup is perfect for your RV adventures. Happy camping!
